[ad_1]

Most police officers shoot their patrol rifles well. Compared to handguns, rifles are easier to shoot well, so even a mediocre marksman with a handgun can hammer out some pretty good groups with their patrol rifle. But when it comes to weapon-handling skills, many officers look awkward and uncomfortable.
To put it bluntly, many officers have terrible patrol rifle-handling skills. They run the selector switch clumsily, their reloads are sloppy and slow, and their target transitions should be timed with a sundial. But there is hope. With some dry practice at home and a little live-fire practice on the range, we can improve our competence and confidence in our patrol rifle-handling skills.
Shooting platform
If you want to improve recoil control and make it easier to manage the rifle during reloads, start with your shooting platform. Shooting platform encompasses your body position, weight transfer, grip, posture and everything else that stabilizes the rifle. If the patrol rifle is stable, it improves our ability to make accurate shots and control the rifle during weapon manipulations.
Start with your feet in a stable position, allowing you to stay balanced and providing ease of movement in any direction. There is no “perfect” foot position that works for everyone, but the common denominator is you’re balanced, stable and mobile. Most of the time, this means having a wide stance with the strong-side foot slightly behind the support-side foot. The weight should be on the balls of the feet with the knees slightly bent. I bend my support-side leg forward more as if pushing my kneecap out over my toes.
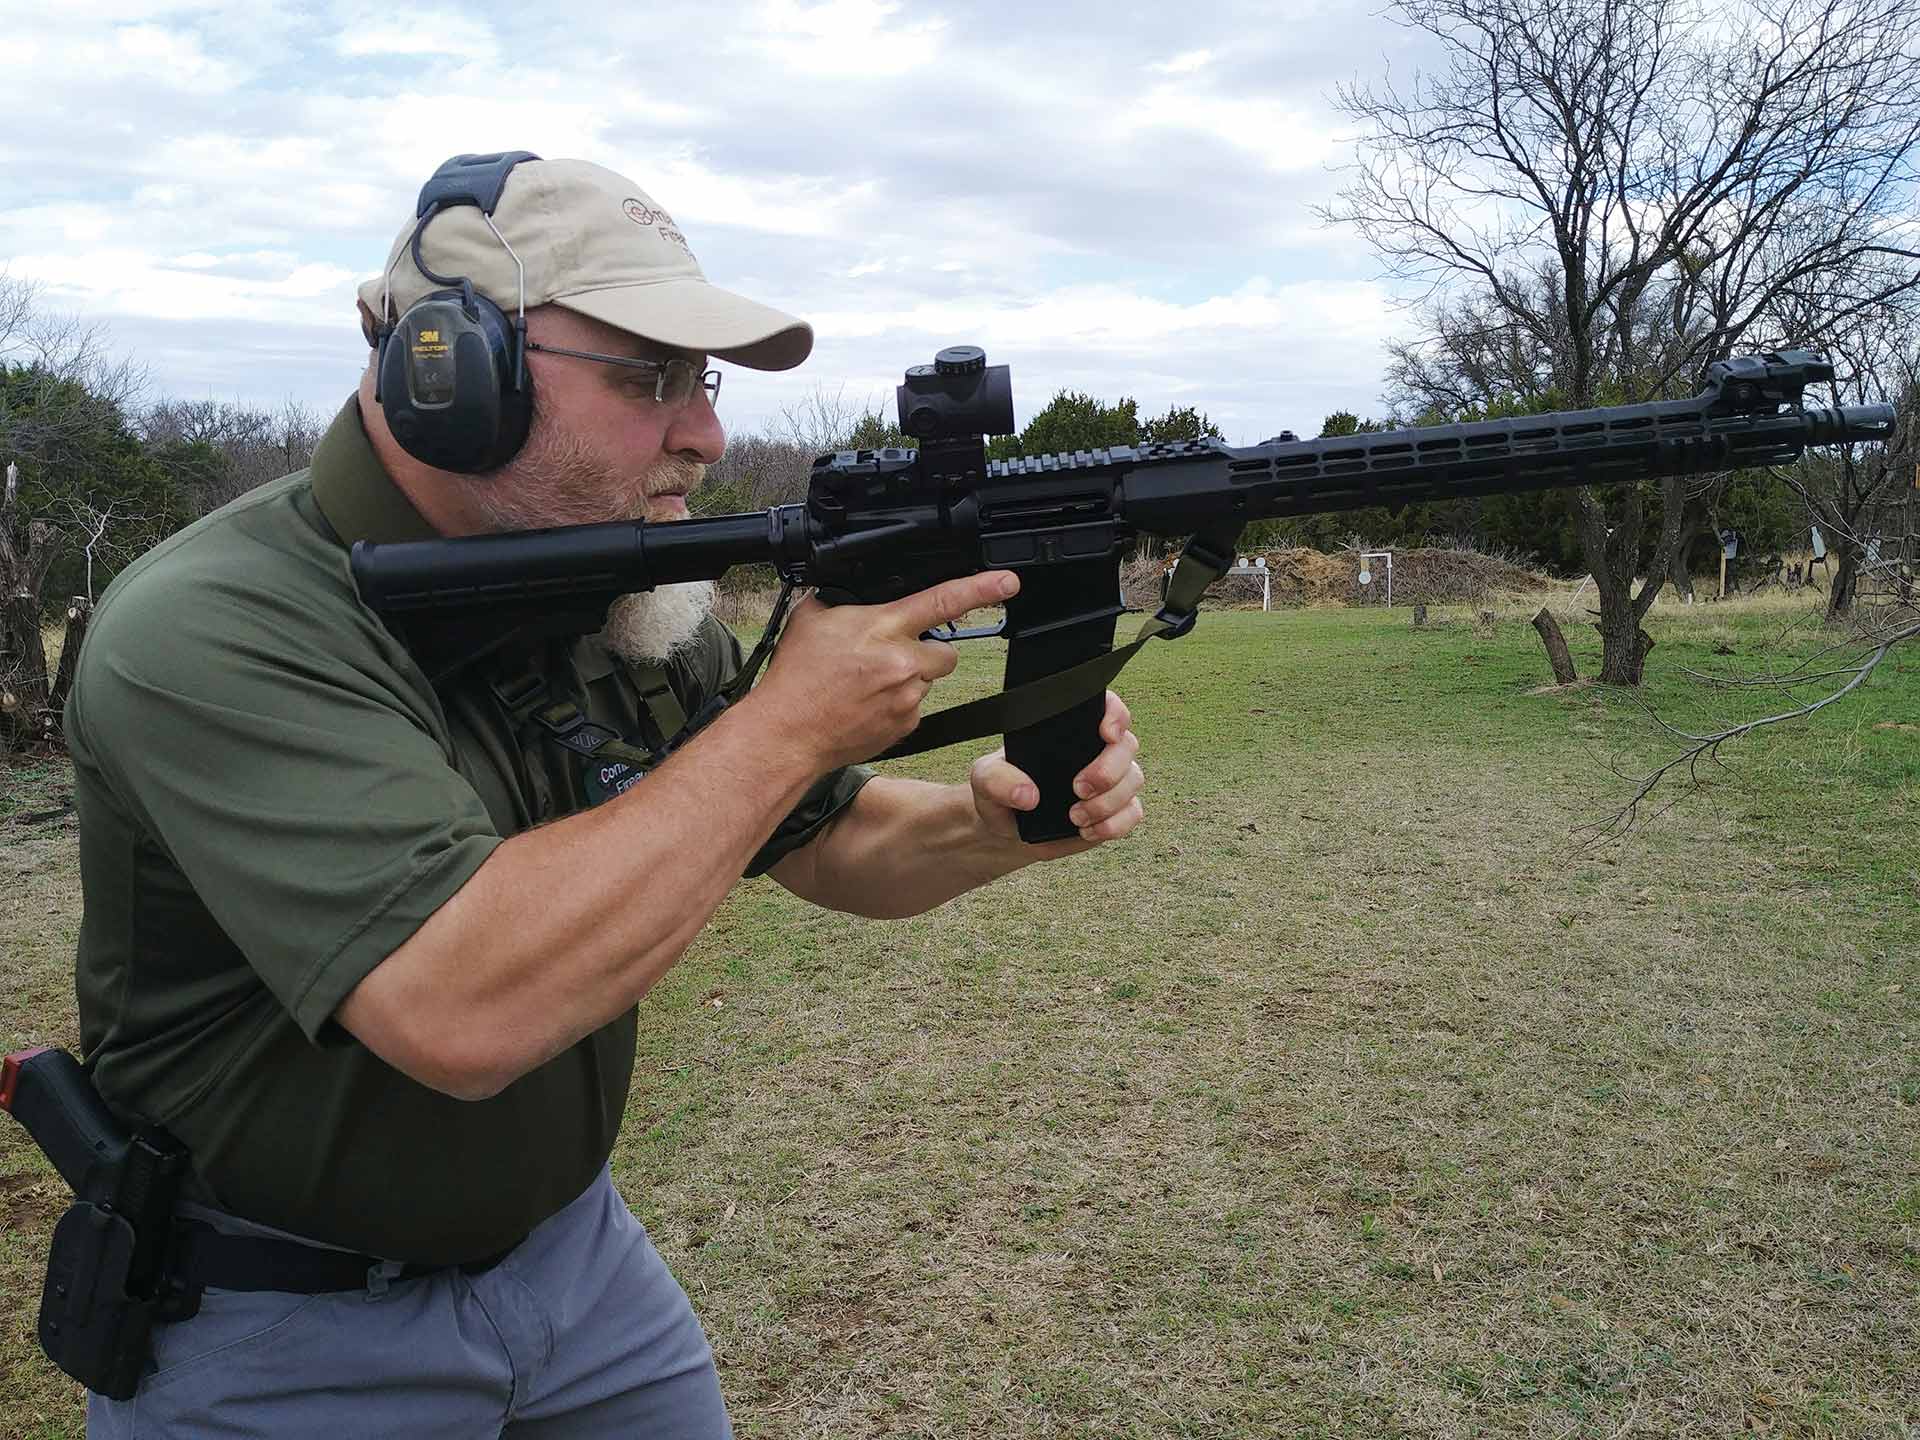
Get your strong-side hand high on the pistol grip of the patrol rifle. Apply grip pressure and pull the rifle straight back into the chest, applying most of the grip pressure to the bottom of the pistol grip. This puts downward pressure on the patrol rifle, minimizing muzzle movement during recoil. Get your support-side arm extended out as far as you can comfortably with your thumb wrapped over the handguard. This position works well with extended handguards, but if you’re running a short-barrel rifle of shorter handguards, try to get that support-side arm extended as much as possible.
Work the selector switch
Get used to running the selector switch. Train it, don’t cheat it. A key point to work on is riding the safety switch with the thumb of your strong-side hand. Right-handed shooters, and left-handed shooters who are running an ambidextrous safety selector, will be able to quickly disengage the safety as the rifle is mounted into the shooting position. In classes, we see a lot of officers forget to run the “on/off” switch during more intense courses of fire. But if you pay attention to this tip, under stress, you won’t forget to disengage the safety. Without an ambidextrous selector, left-handed shooters can either switch their thumbs over to the left side of the rifle, or they can use their index finger to manipulate the safety. There’s no one way for lefties since both methods work well.
Rifle presentation
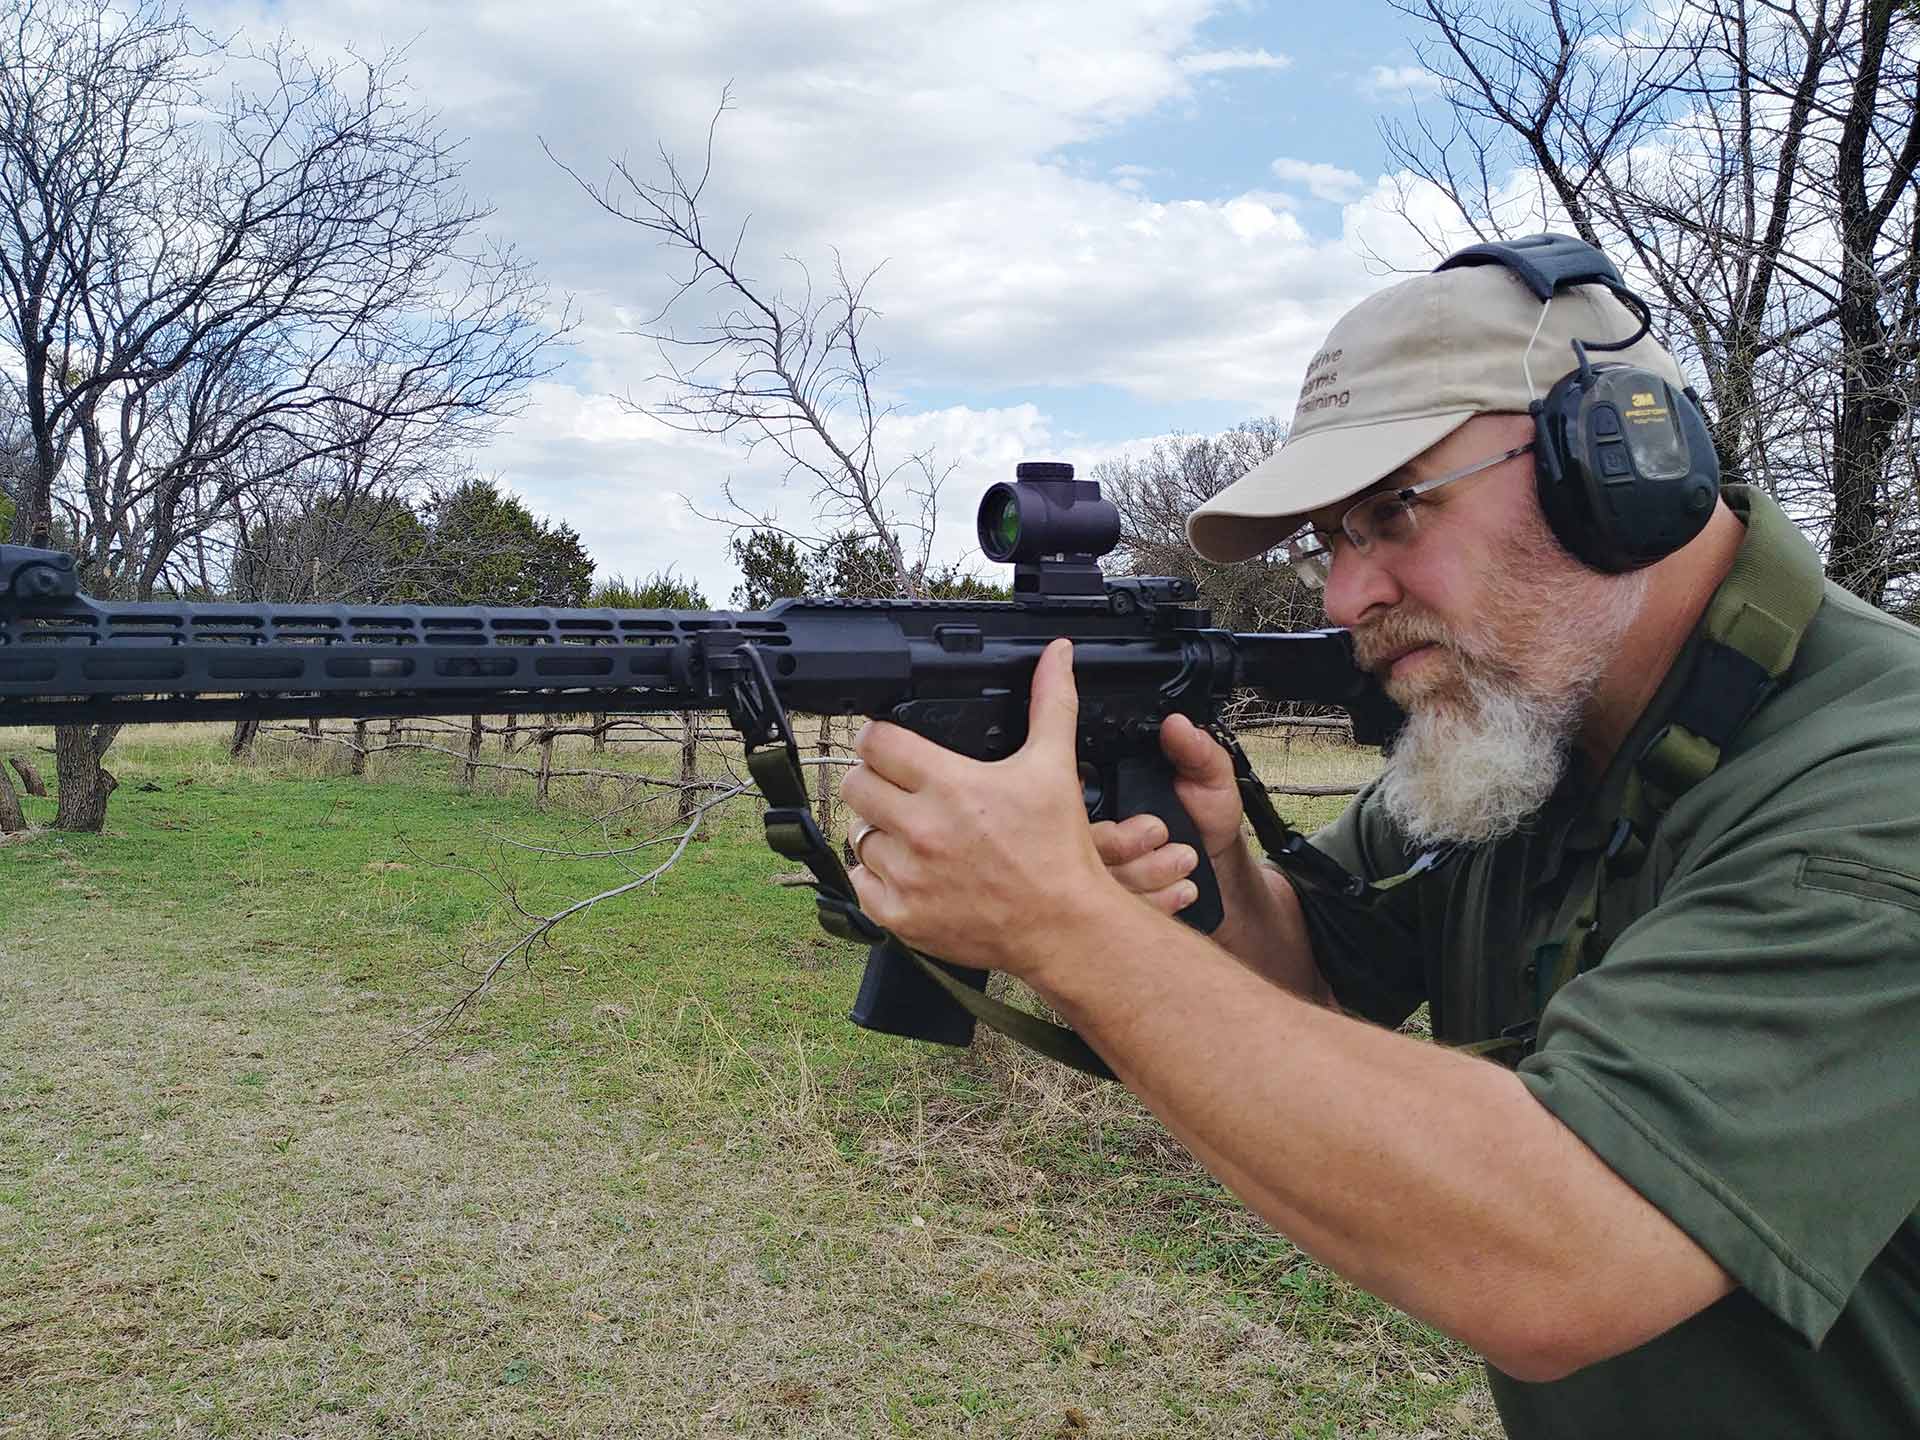
Now that we have a stable shooting platform and are committed to training ourselves to run the selector switch, it’s time to work on presenting the rifle up to the eye-target line. The buttstock of the rifle should be mounted as close to the center line of the body as possible. This is going to differ between shooters based on body type, body armor and even between men and women. Some women may find a centered buttstock uncomfortable because it may direct recoil into sensitive breast tissue.
With the rifle centered, the rifle should come up into the shooter’s eye-target line, allowing for a good sight picture and cheek weld. Avoid dropping your head down to the rifle as much as possible because this can change your weight bias, putting you off balance while shooting. Practice these presentations to the target from a variety of start positions: low ready, high ready, turning to the left and right, full 180-degree turns and while dropping into a kneeling position. Good news! This can be done at home for free and without driving to the range. Dry-fire practice is the best way to improve your rifle presentation skills.
Reloads
There are a variety of reloading techniques. Each reload has advantages and disadvantages depending on the context or environment where they would be used. One thing is certain though: The more competent you are at reloading your patrol rifle, the more confident you will run the rifle. Let’s take a look at the reload with retention.
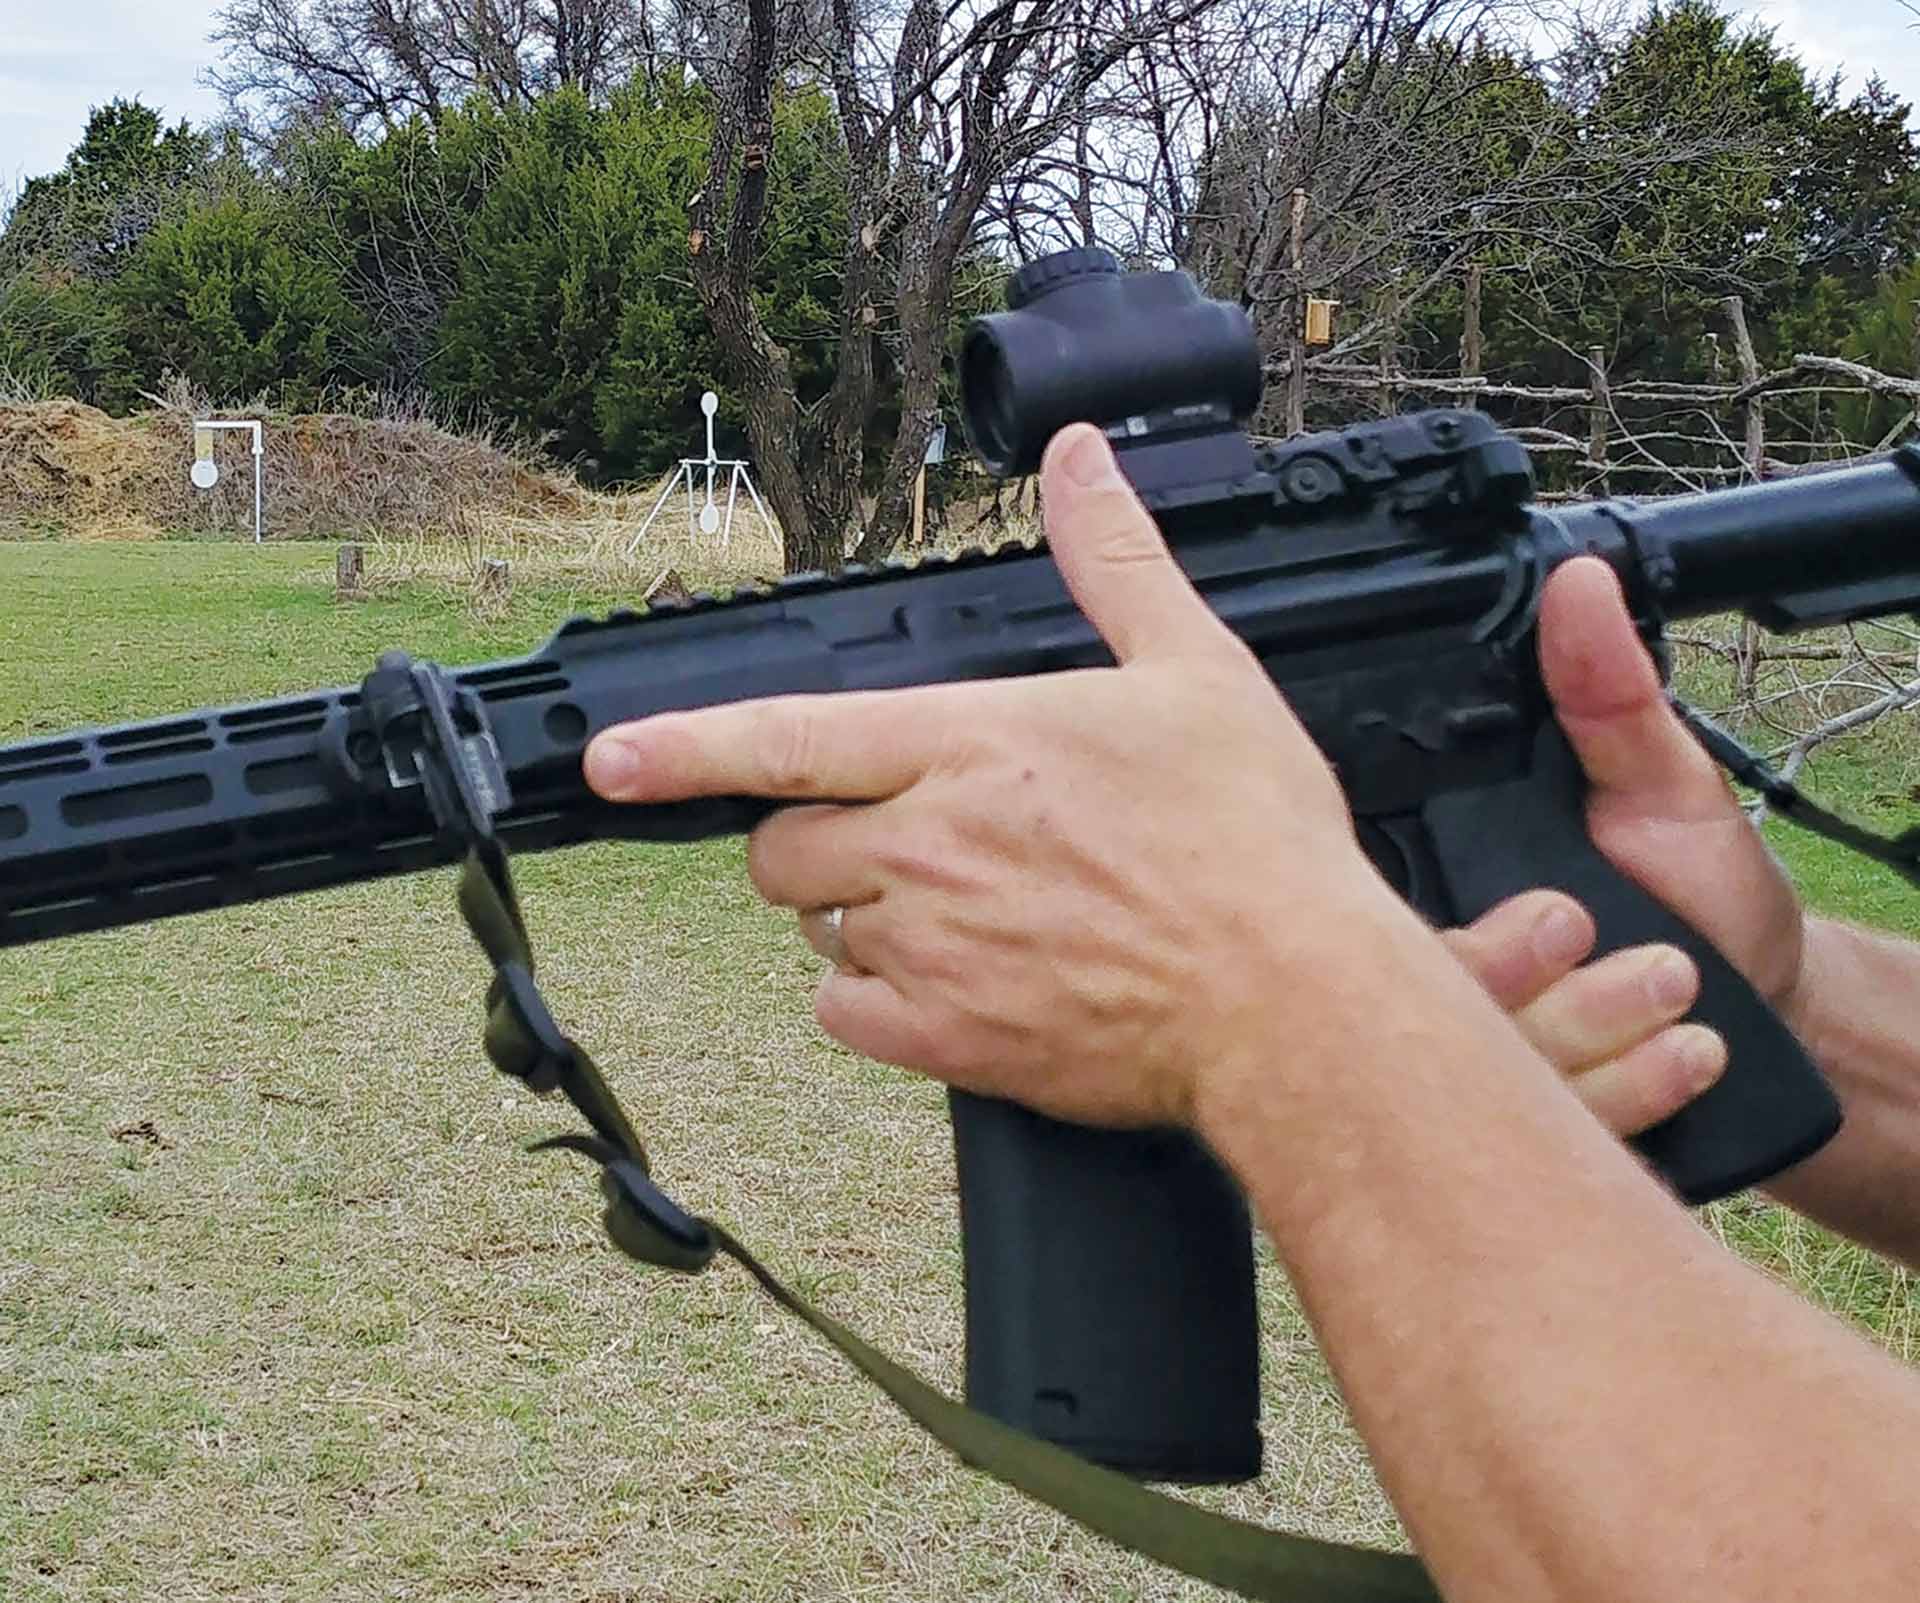
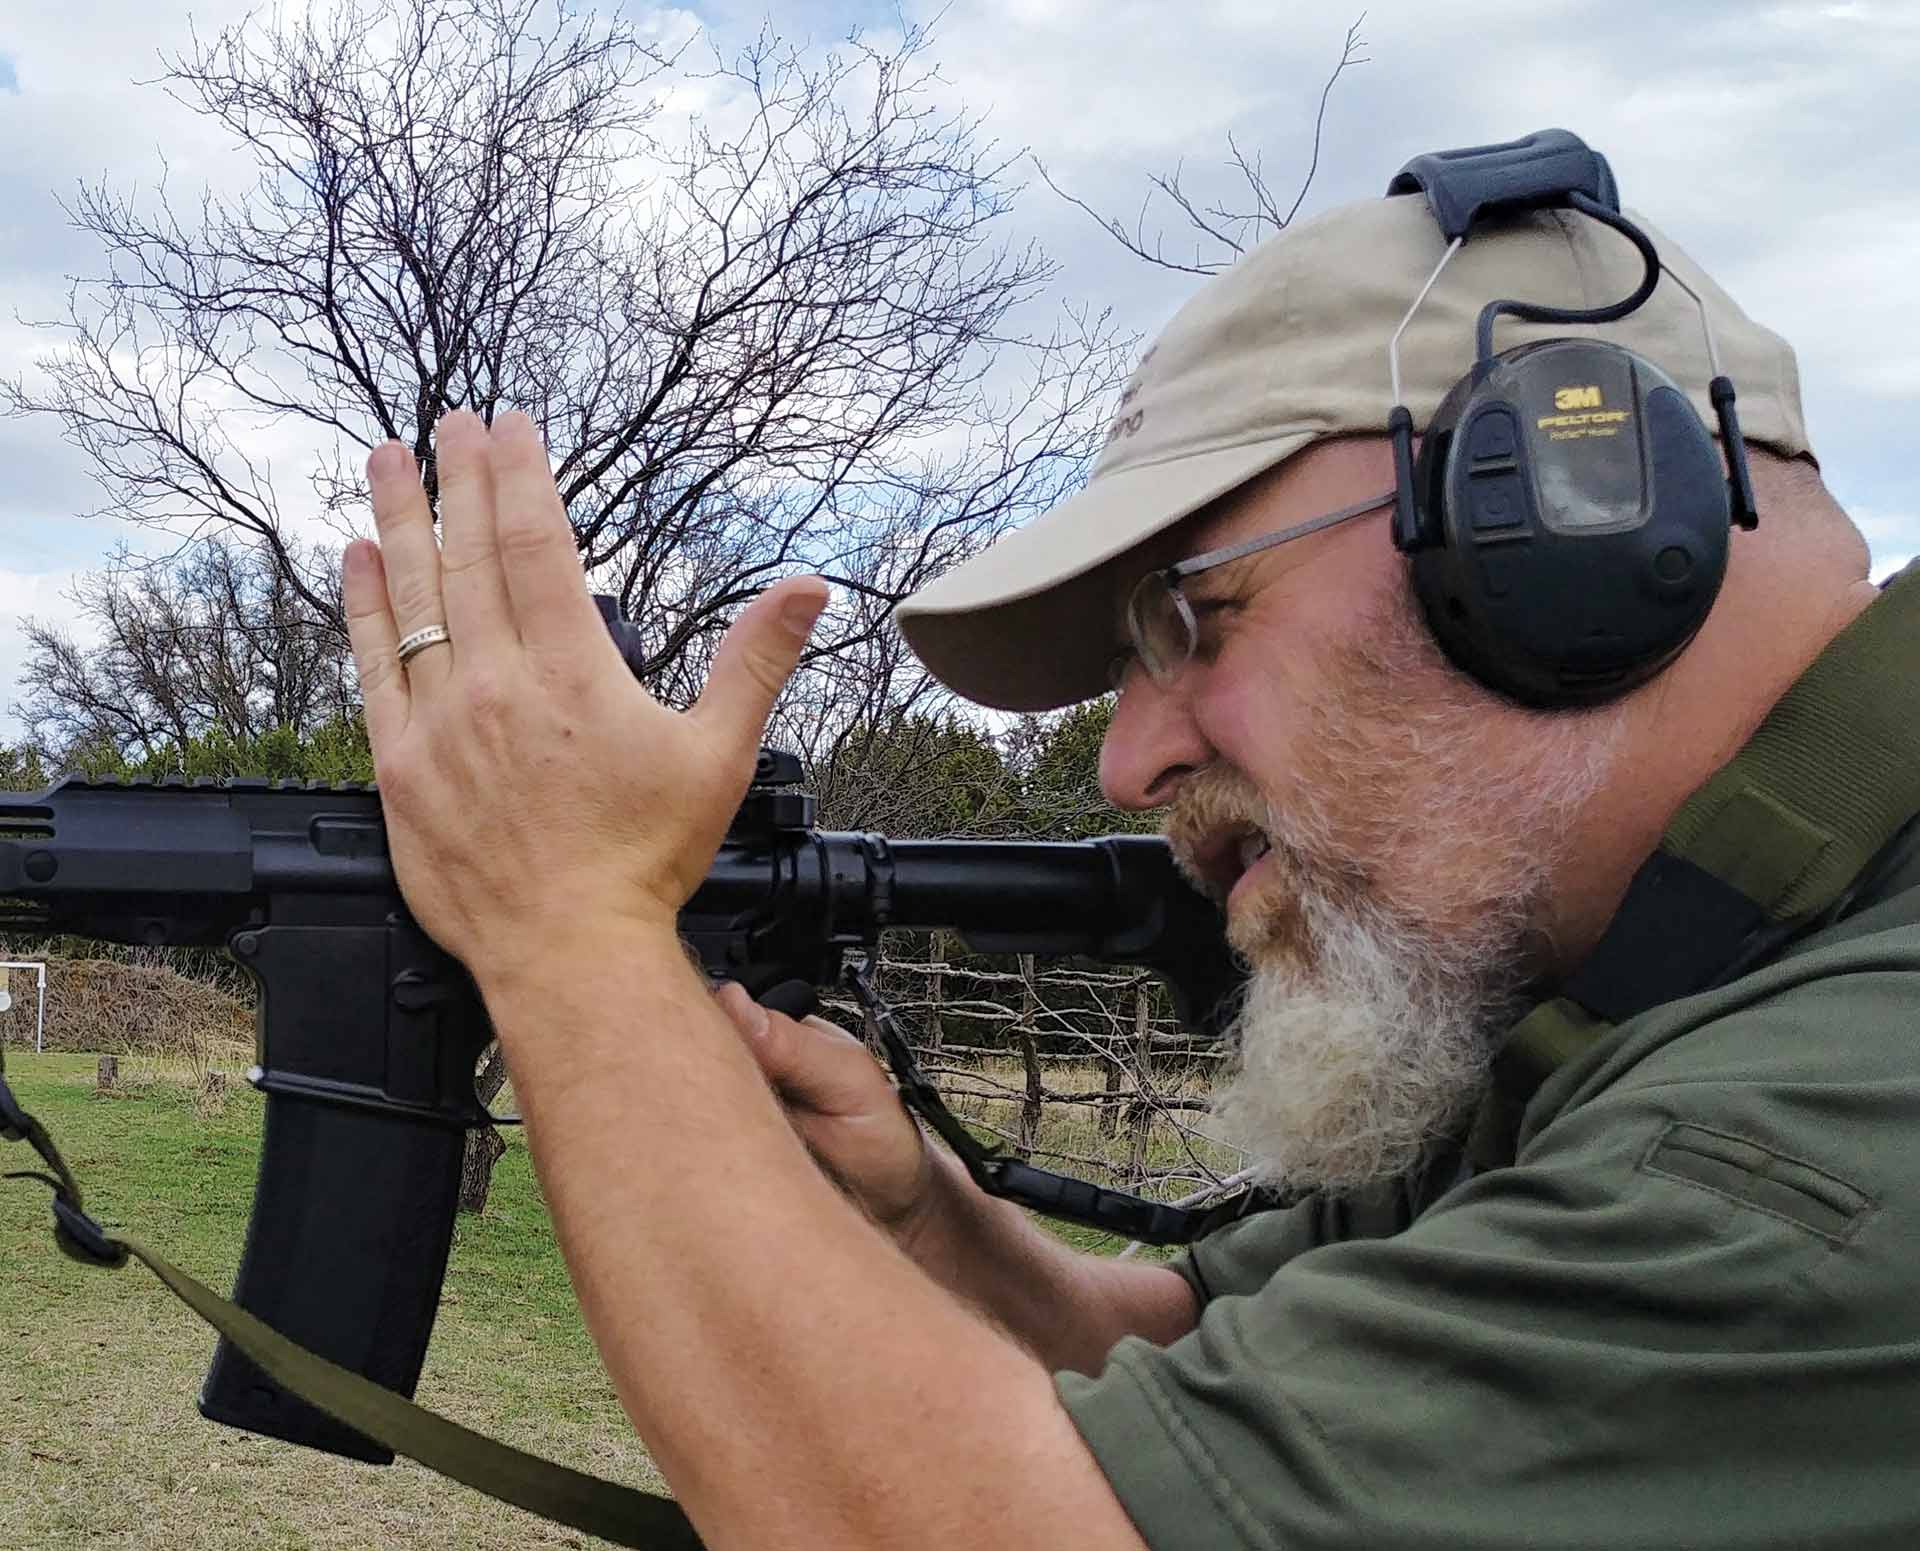
This reload is quick and simple to master and can help shooters become more comfortable with patrol rifle manipulations. This reload accomplishes the same thing as the traditional tactical reload with the benefit of having one magazine in your hand at a time. The reload begins by keeping your eyes and handgun pointed downrange. Press the magazine release button and remove the magazine with your support-side hand. Put the magazine away, then obtain a new magazine and insert it firmly with the palm of your hand. It’s as simple as that: remove magazine, stow it, insert new magazine. (See previous page for empty reload tips.)
The argument against using the bolt catch is that someone may not be capable of working it under stress due to the loss of fine motor control skills. If this is true, then they would also be incapable of pressing the trigger or working the selector switch. If it’s true we default to our level of training during stress, then it’s also true we can press the bolt catch under stress as long as that’s how we train.
Target transitions
When it comes to transitioning between targets, dry-fire practice is the place to start. I like to use 2-inch by 2-inch sticky notes as targets because they’re cheap and easy to find. Place the sticky notes 10 to 15 feet apart, forcing extra wide movement from one target to the other. From about 15 feet away, bring the rifle up on the first target, get a sight picture, then transition to the next target.
You can add trigger presses if you want to see what is happening at the rifle during your trigger press. This is a good way to see how your sights move during the trigger press. Don’t worry about the trigger press not causing the hammer to fall or the trigger group to reset. The movement of the trigger to the rear and seeing what it does to your sights is what’s important.
Once you have these skills solidly locked in, then move on to some of the other patrol rifle reloads. You can add a shot timer to time your presentations, reloads and target transitions. The more competent you become in your patrol rifle-handling skills, the more confidence you will have running it.
[ad_2]


